
In the world of procurement, a Request for Quotation (RFQ) is an essential tool. It allows businesses to invite suppliers into a bidding process to bid on specific products or services. This not only helps in obtaining the best price but also in finding the supplier who can deliver the quality and quantity needed within the desired timeframe. Odoo 16 Purchase Module simplifies this process by digitalizing it, making it easier, faster, and more efficient.
Understanding the Request for Quotation (RFQ) Process
Before we dive into the steps, let's briefly review what an RFQ is and why it's essential: An RFQ is a document that businesses use to solicit quotes from suppliers for the purchase of specific products or services. It's a crucial step in the procurement process as it allows you to:
Compare Quotes: By obtaining multiple quotes for the same requirements, you can identify the best value for your money.
Negotiate Terms: RFQs give you room to negotiate with suppliers on price, delivery times, and other terms to ensure they align with your needs.
Establish Relationships: Building strong relationships with suppliers is essential. An RFQ process can help in fostering these relationships by providing a clear and professional method of communication.
Now, let's get started with creating an RFQ in Odoo 16 Purchase:
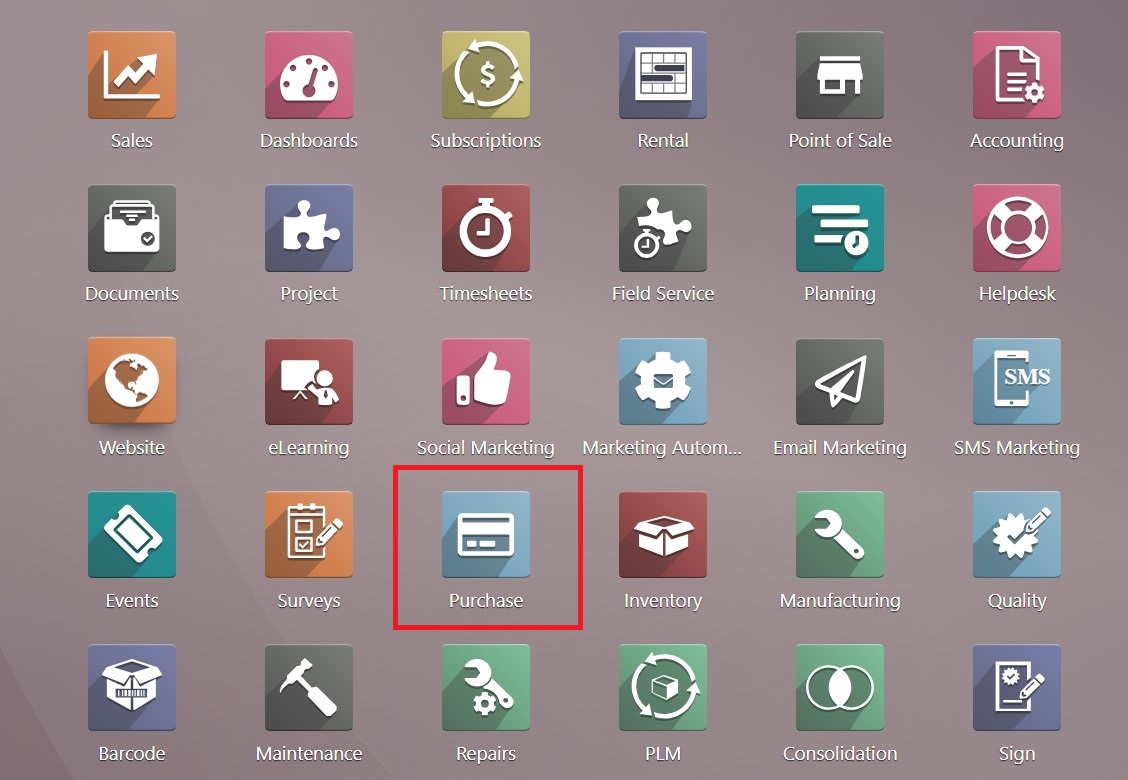
Step 1: Access the Purchase Module
After logging into your Odoo account, navigate to the Apps menu and locate the Purchase module.
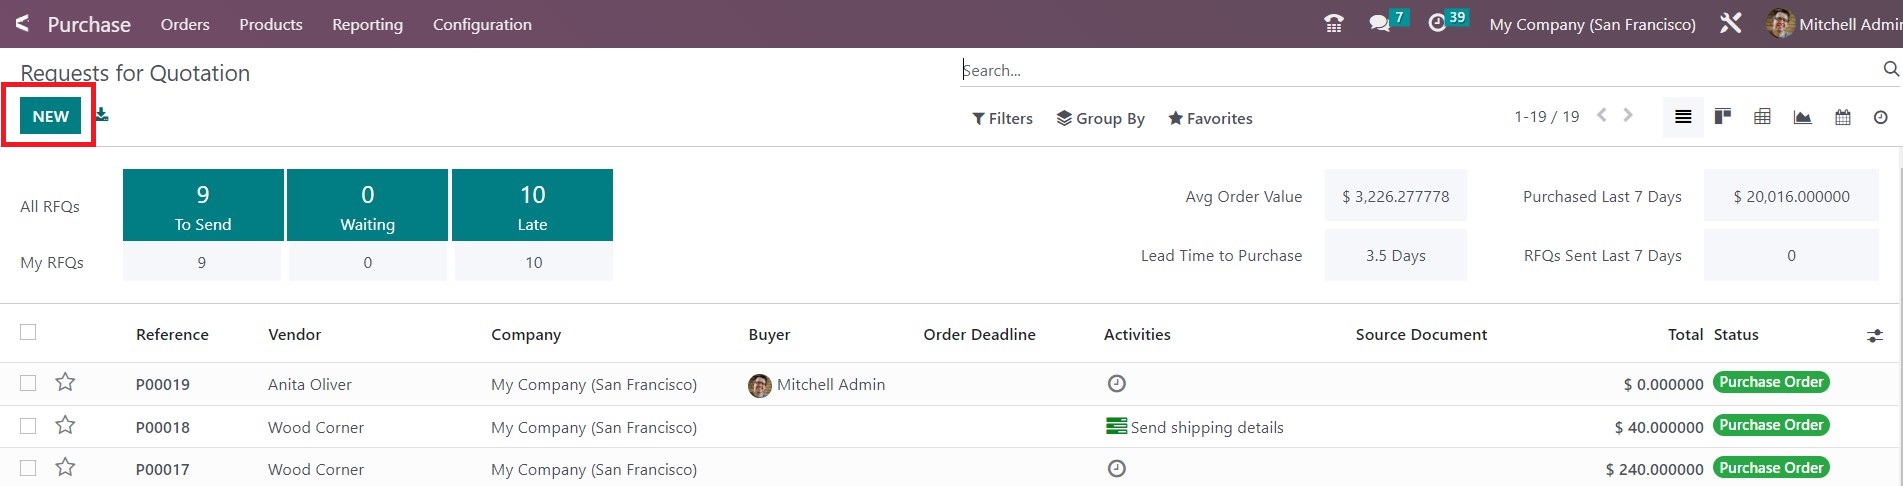
Step 2: Create a New RFQ
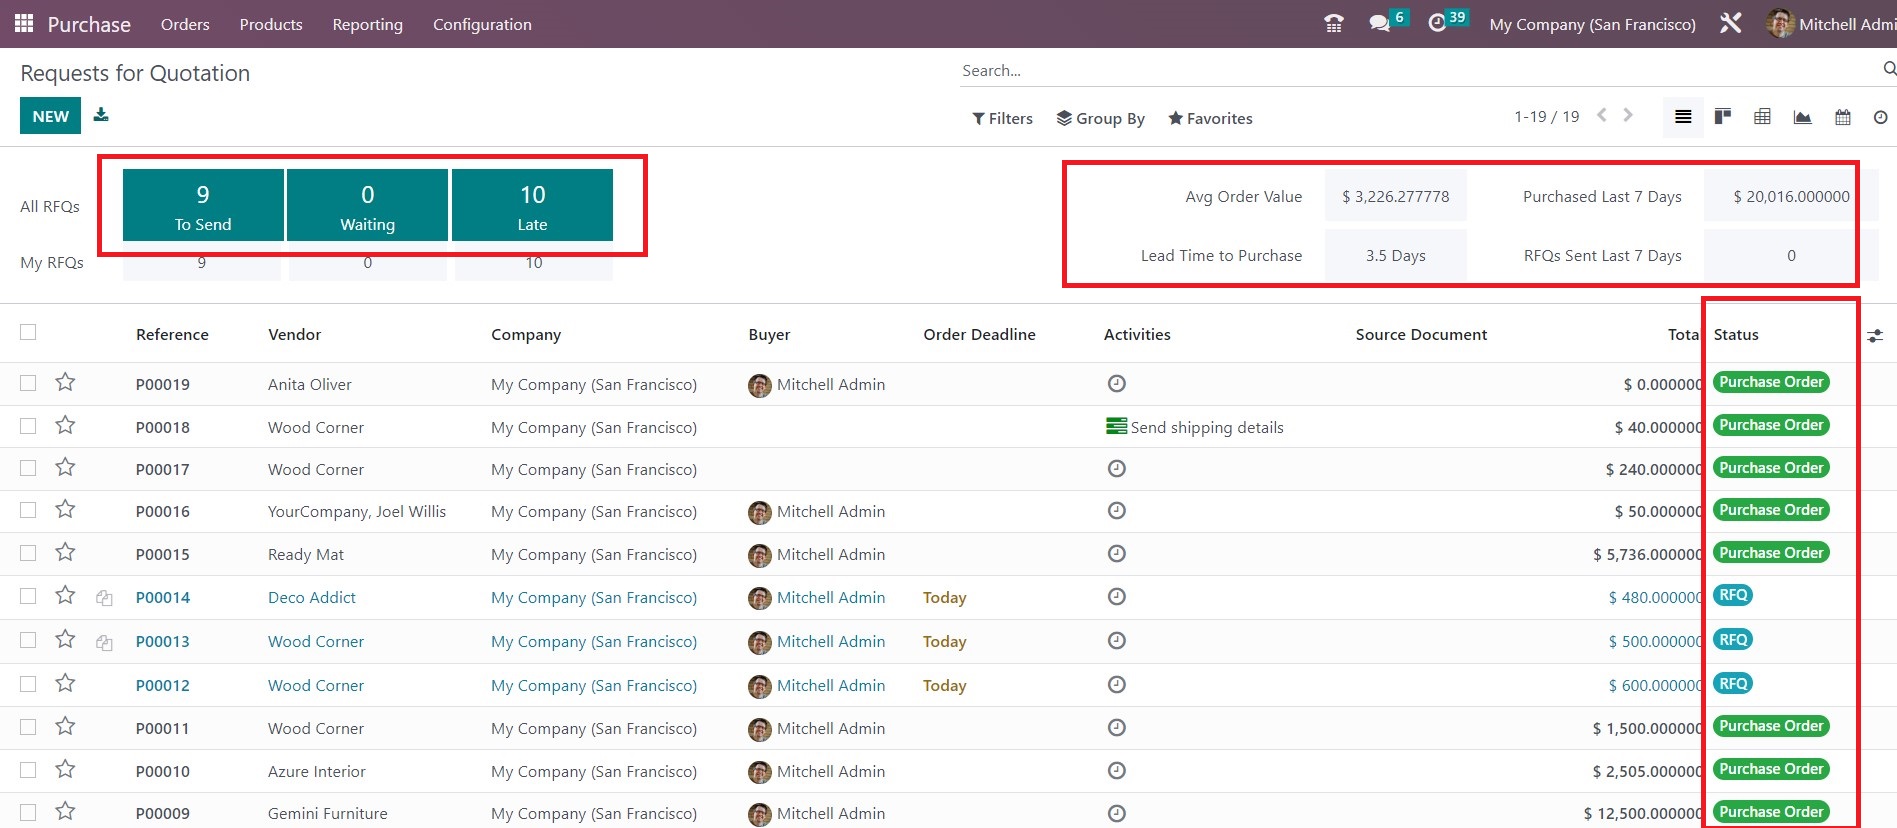
Once inside the Purchase module, you can see all the Requests for Quotations and Purchase Orders. Odoo also shows you RFQs to send, waiting and late RFQs on the left, and some statistical data on the right.
Now let’s click 'New' to start a new RFQ.
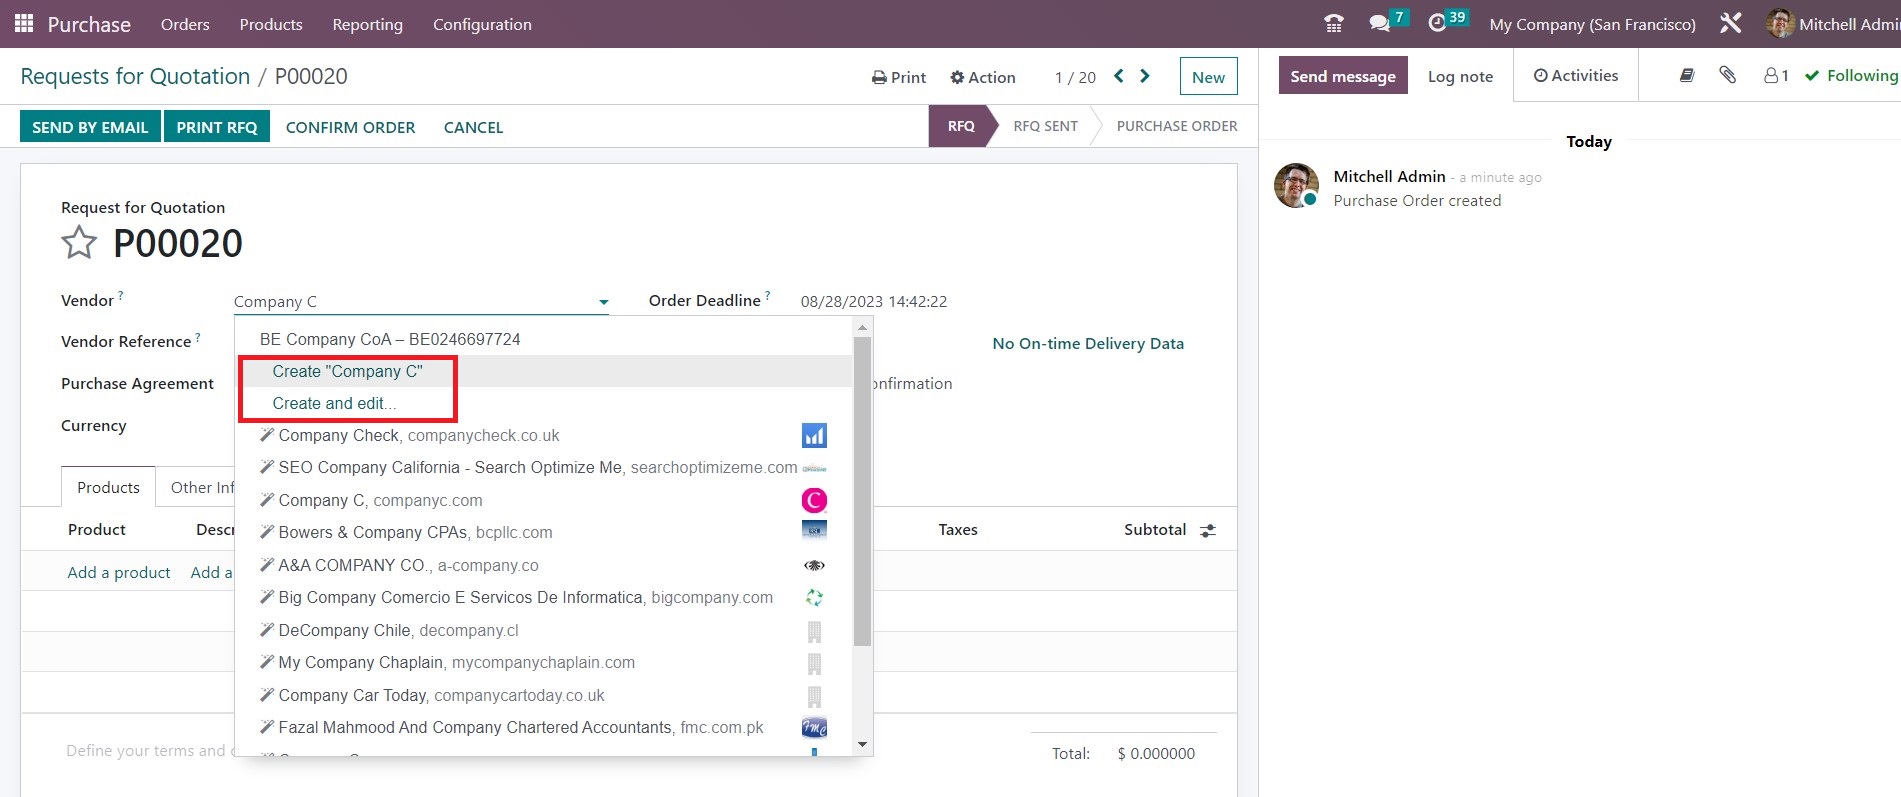
Step 3: Input Vendor Details
Fill in the vendor details. You can select a vendor from your existing database in the drop-down menu.
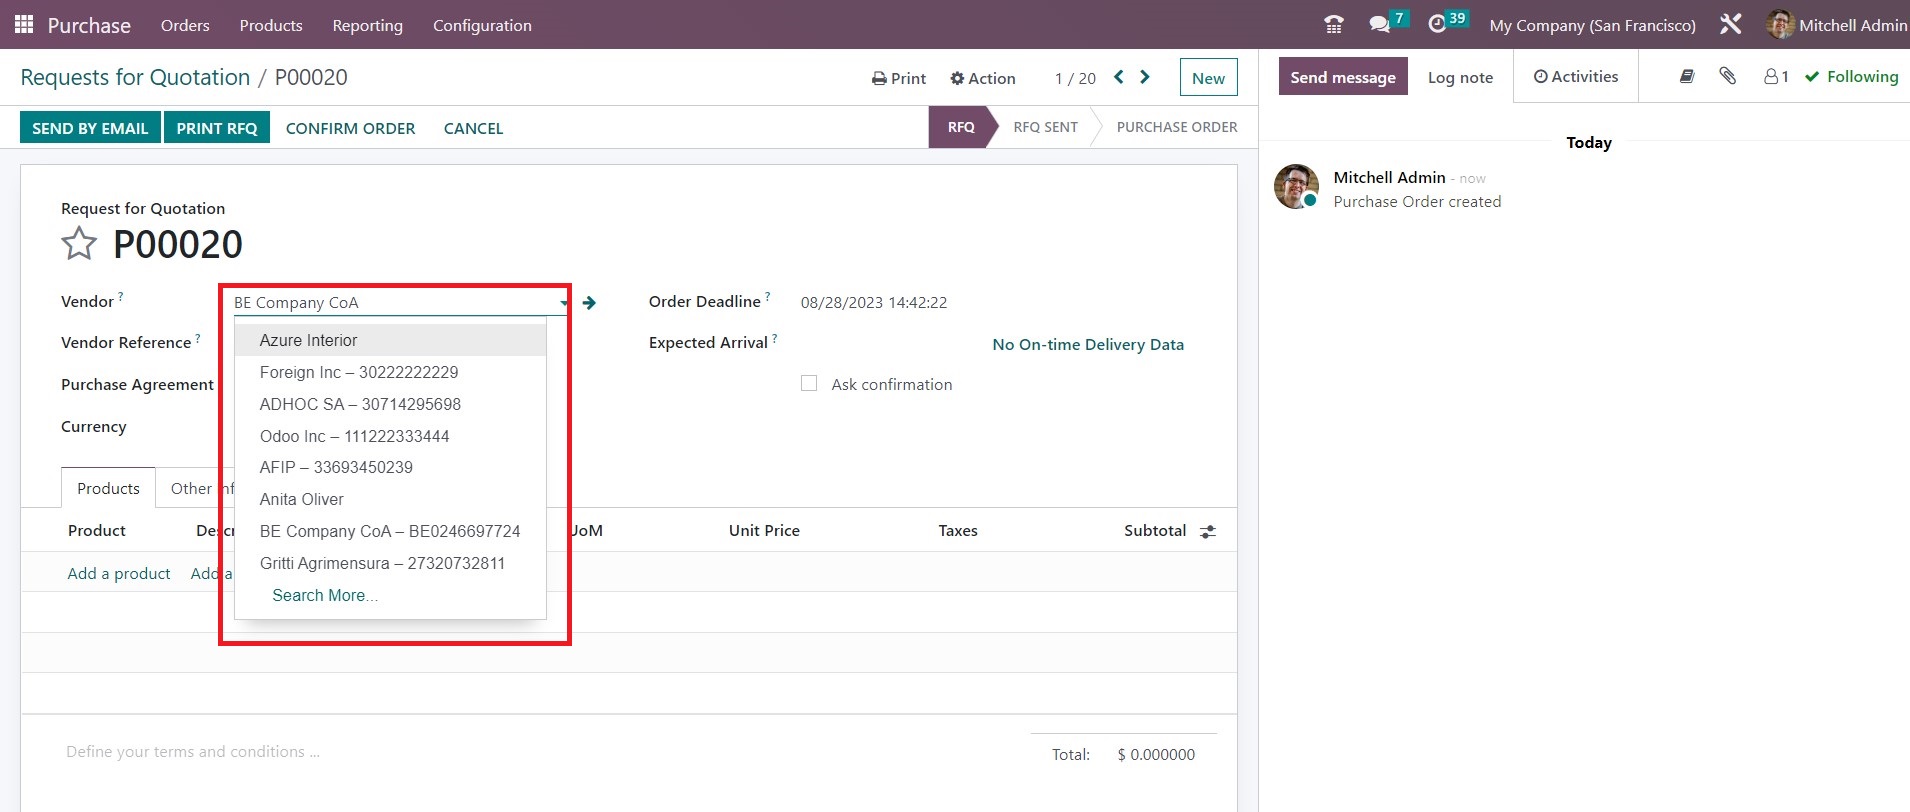
If you need to create a new vendor, simply start typing a new name, and Odoo will suggest creating a new vendor automatically.
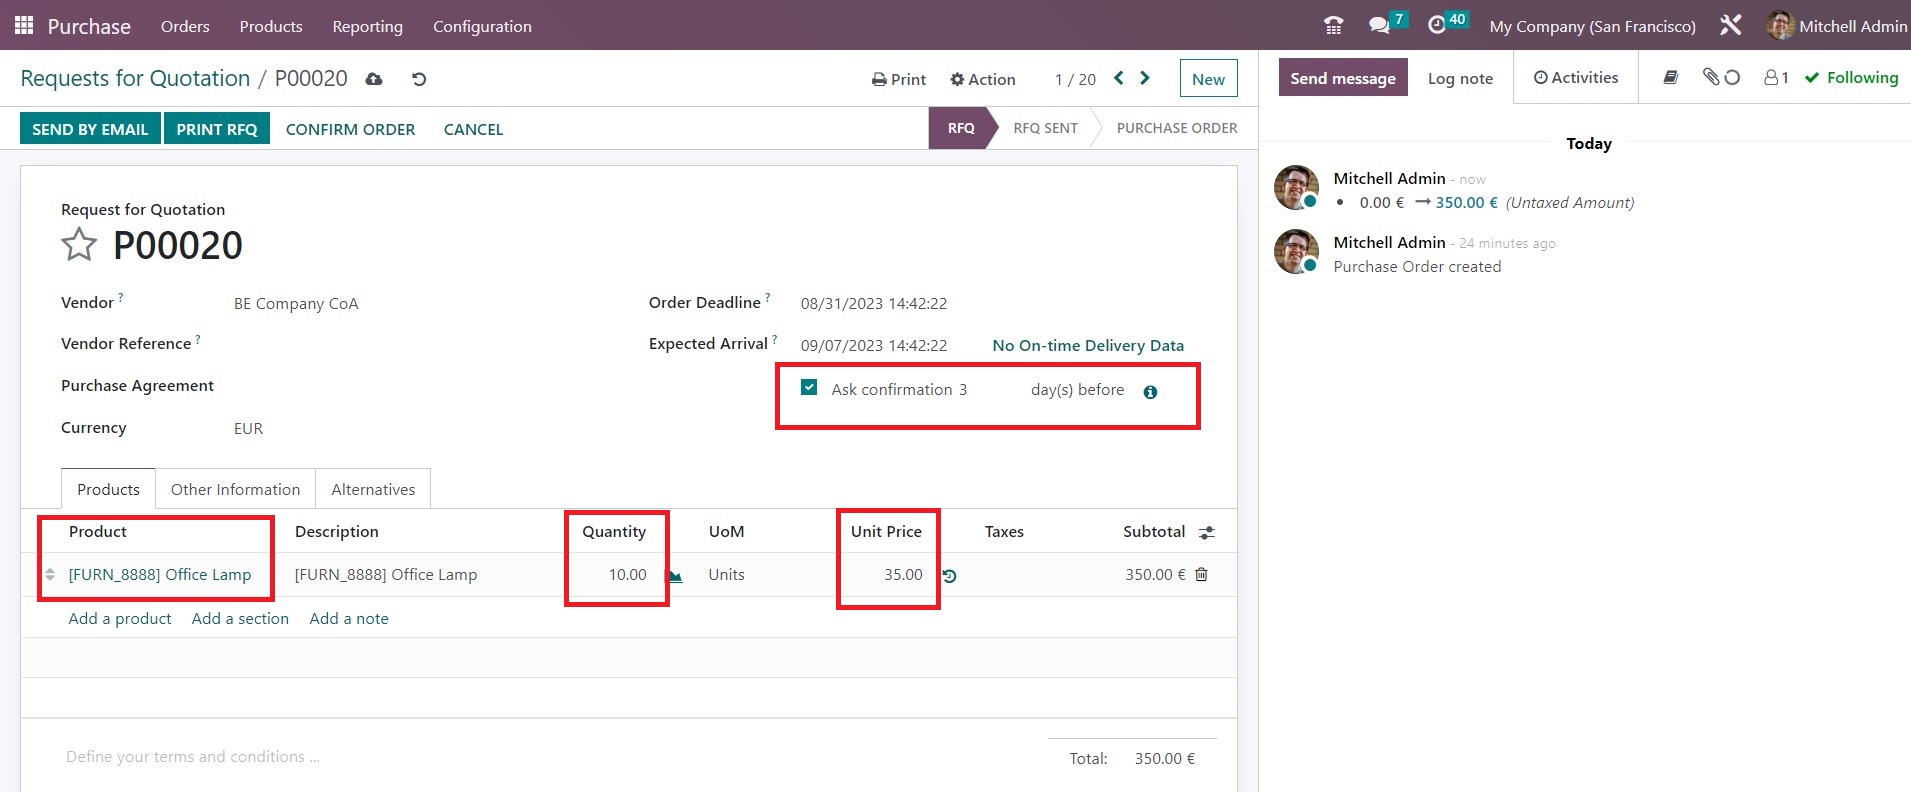
Step 4: Add Product Details
Next, specify the product you want to procure. Add the product name, description, quantity, unit price, and delivery date. Even if the price is pre-set, you can edit it manually. Odoo allows you to ask for the supplier’s confirmation before confirming the actual order.
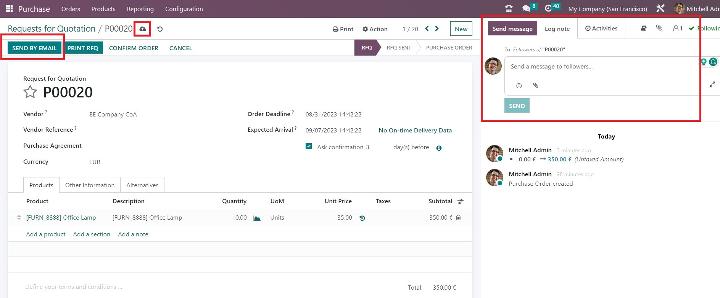
Step 5: Save and Send by Email
After filling in all the details, click on 'Save'. You can use the chatterbox on the right to communicate the details with other users right away. To send the RFQ, click 'Send by Email'.
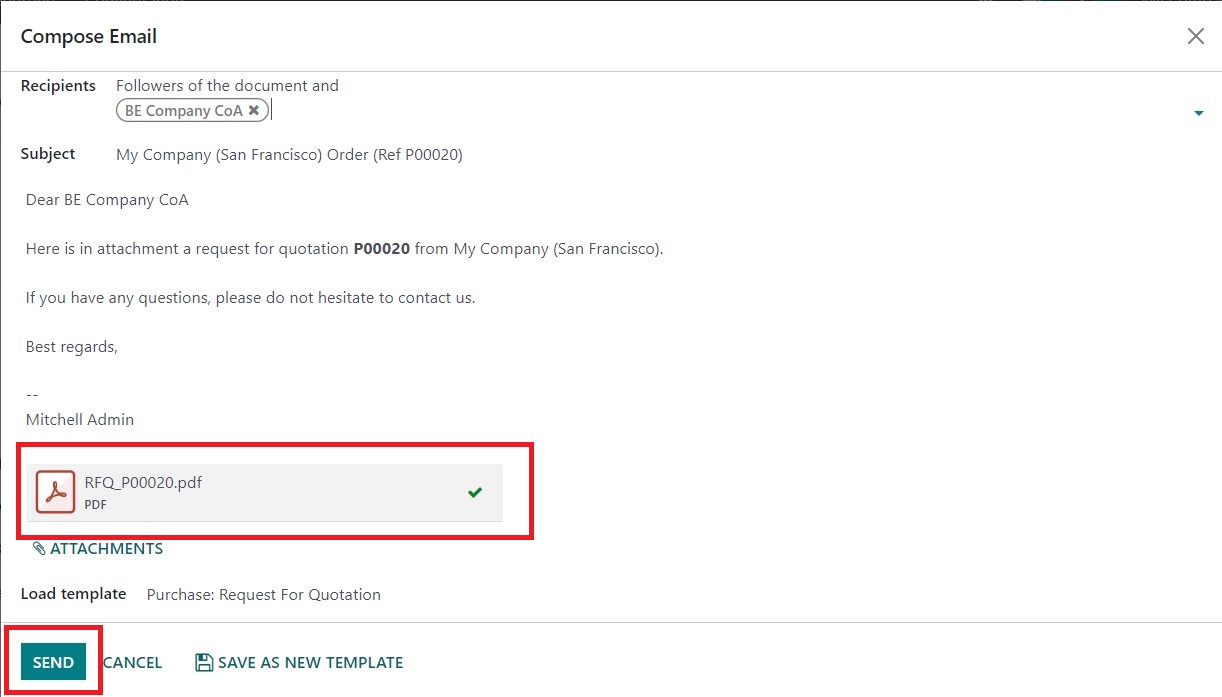
An email with the RFQ details will be automatically generated. You can edit the email if needed and check the PDF file. When it’s done, click on 'Send'.
Step 6: Confirming the RFQ
Once the vendor replies with their proposal, you can confirm the RFQ by clicking on 'Confirm Order'.
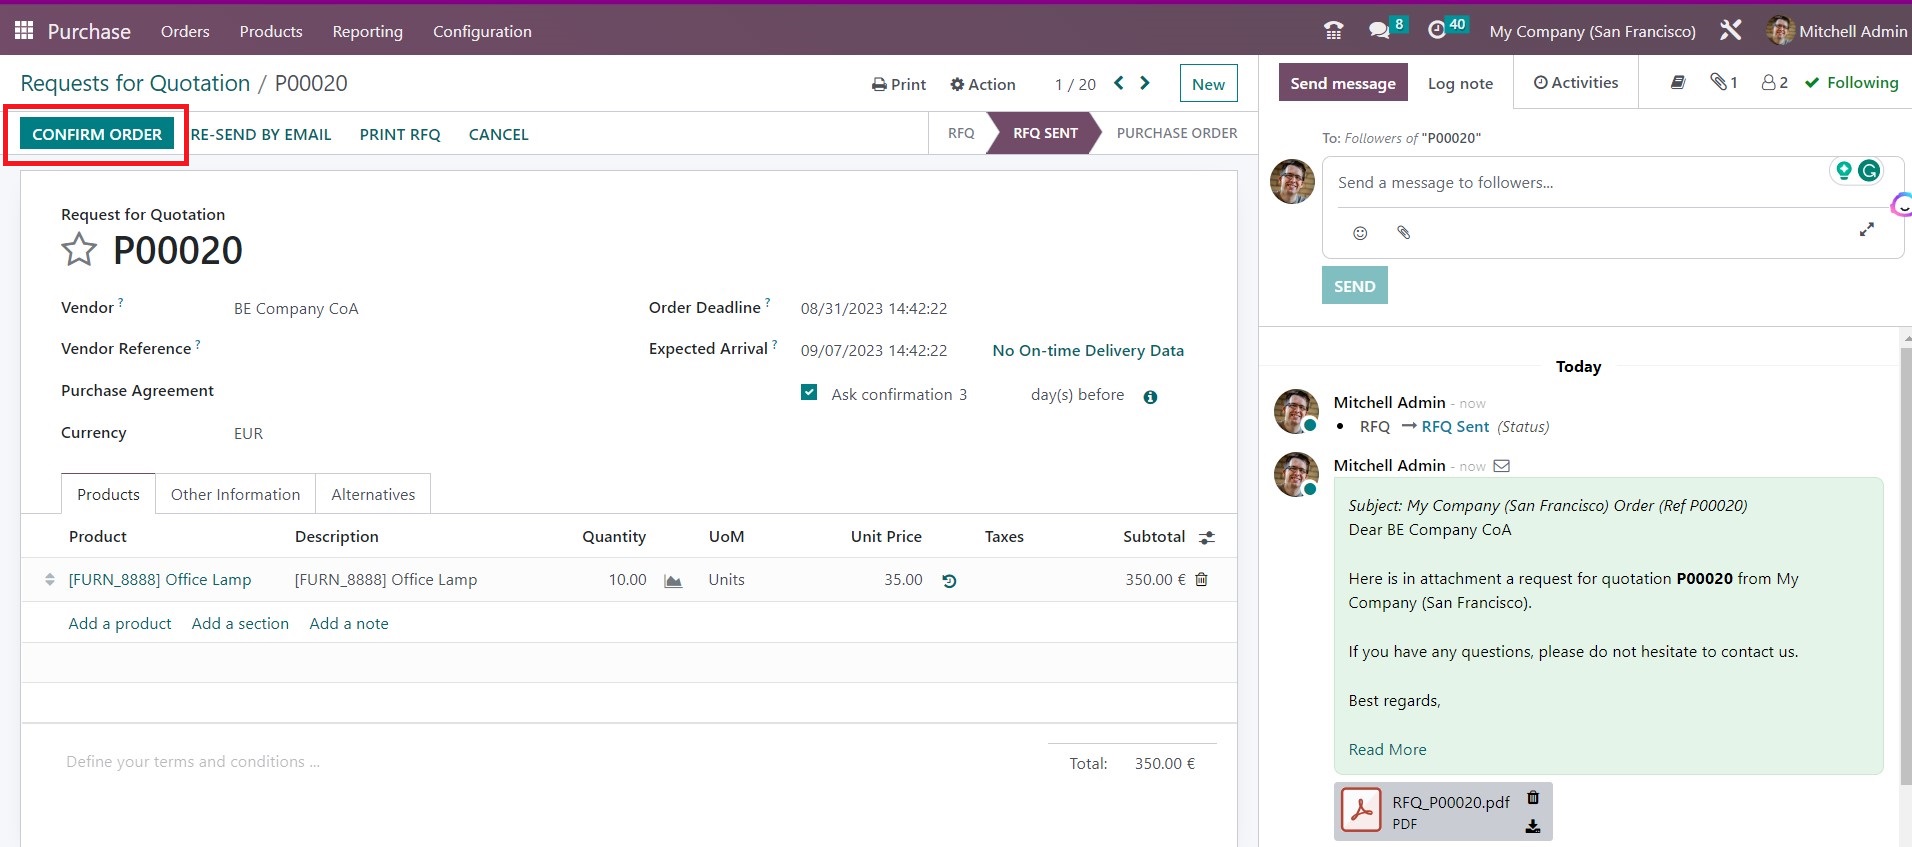
The RFQ will then become a purchase order.
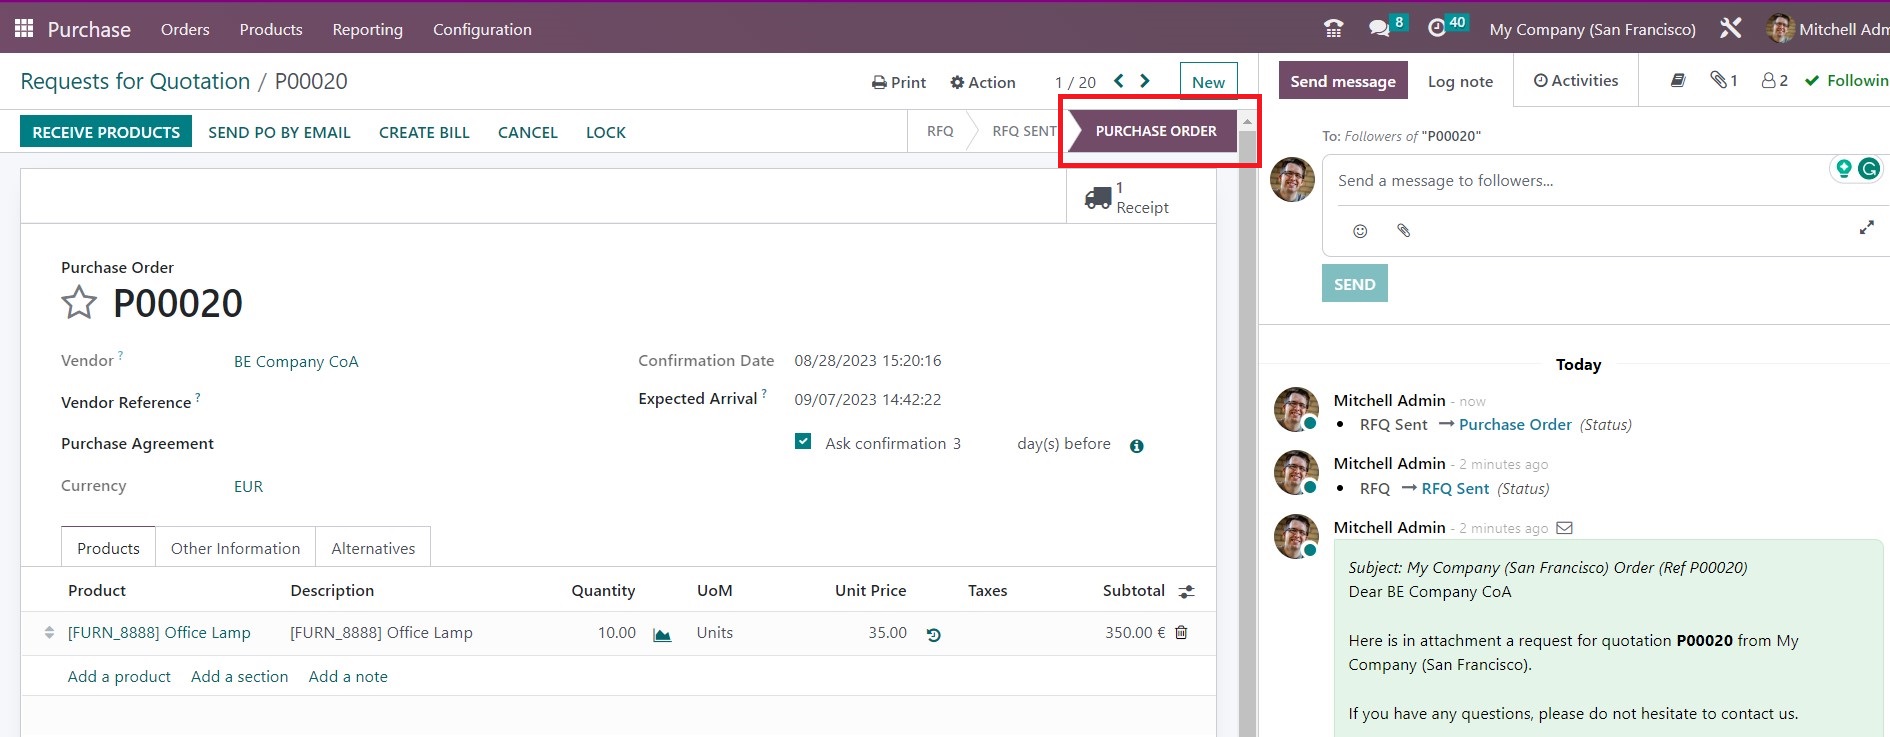
Step 7: Receive Products and Check Quality
When the products are delivered, you can receive them by clicking on ‘Receive Products’ or using the smart button with 1 Receipt.
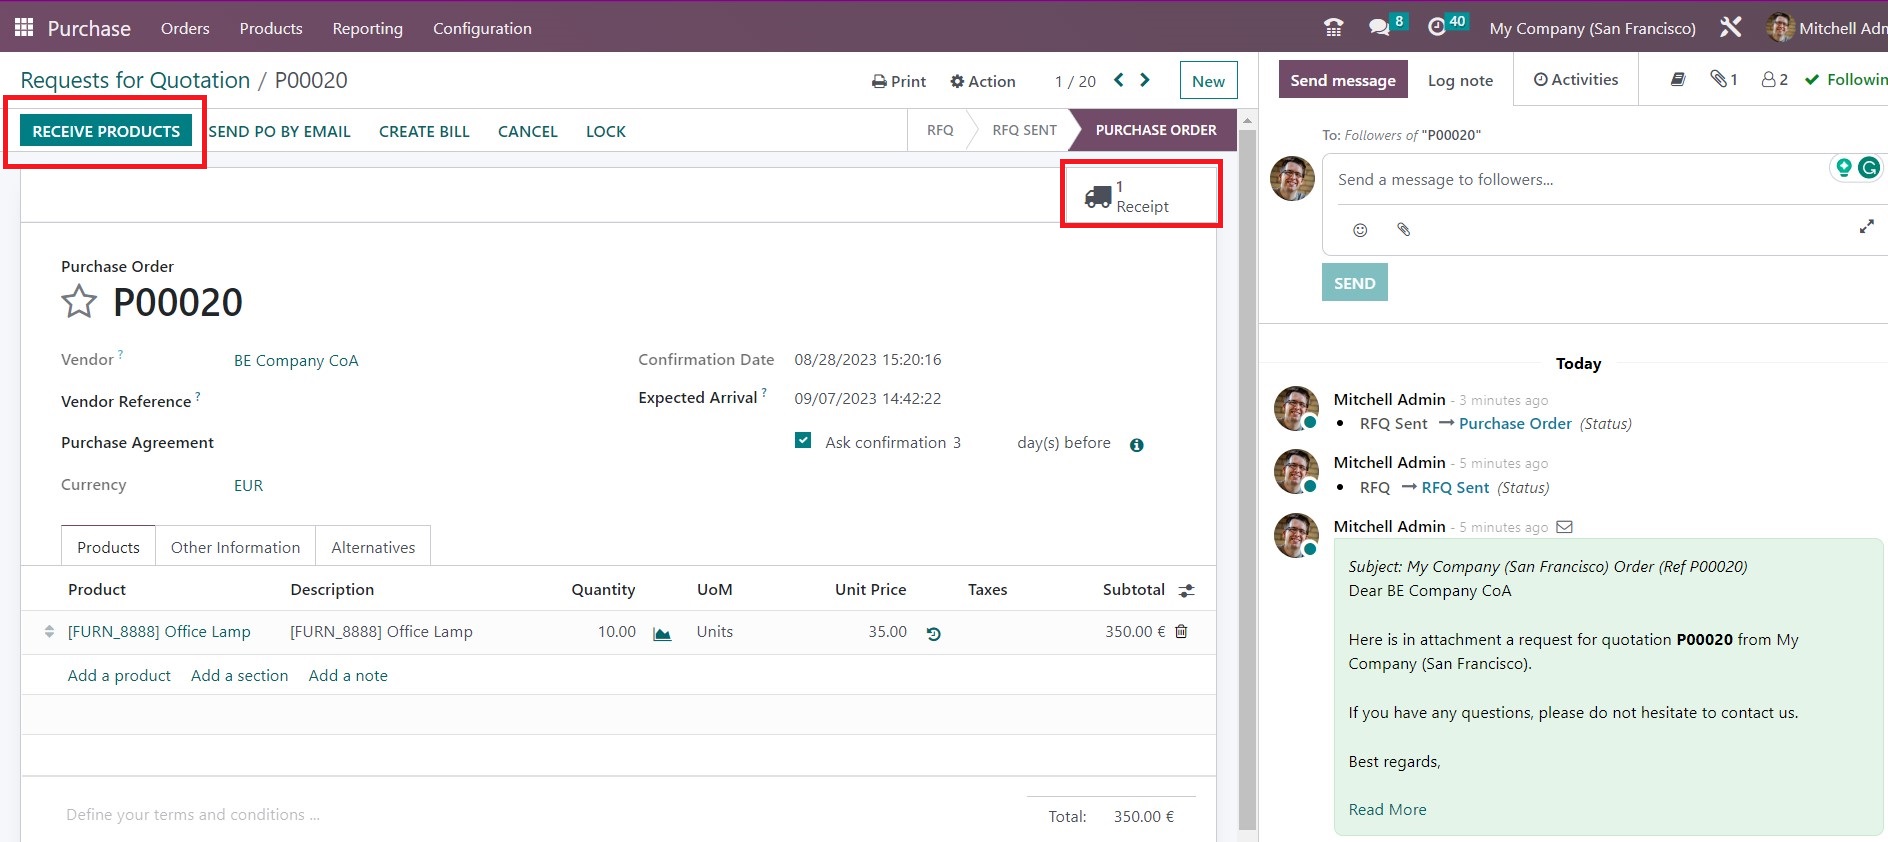
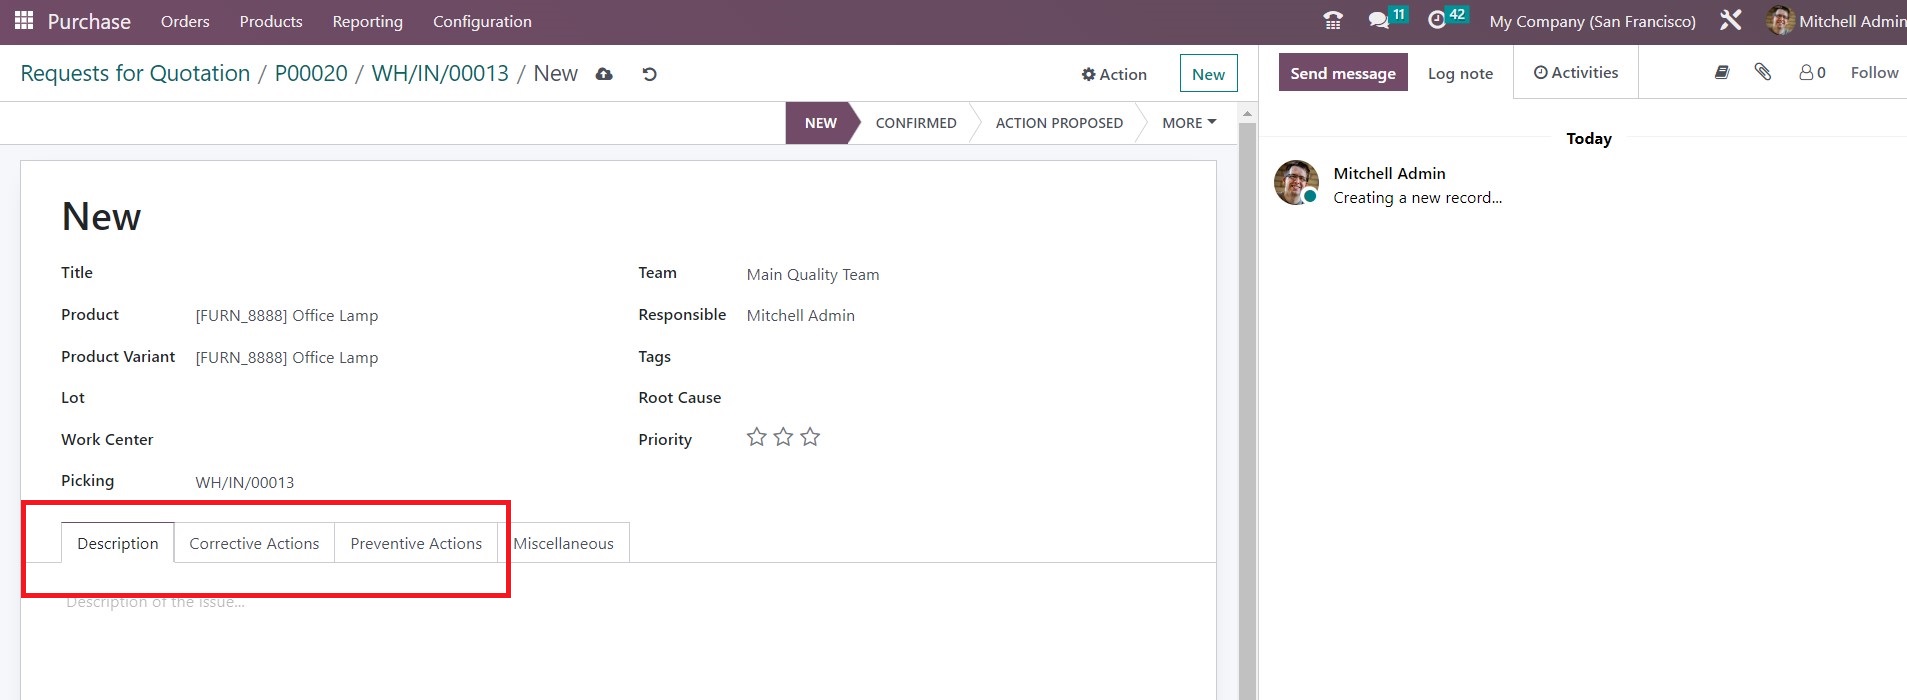
If you click on the smart button, Odoo suggests you perform Quality Checks or add a Quality Alert.
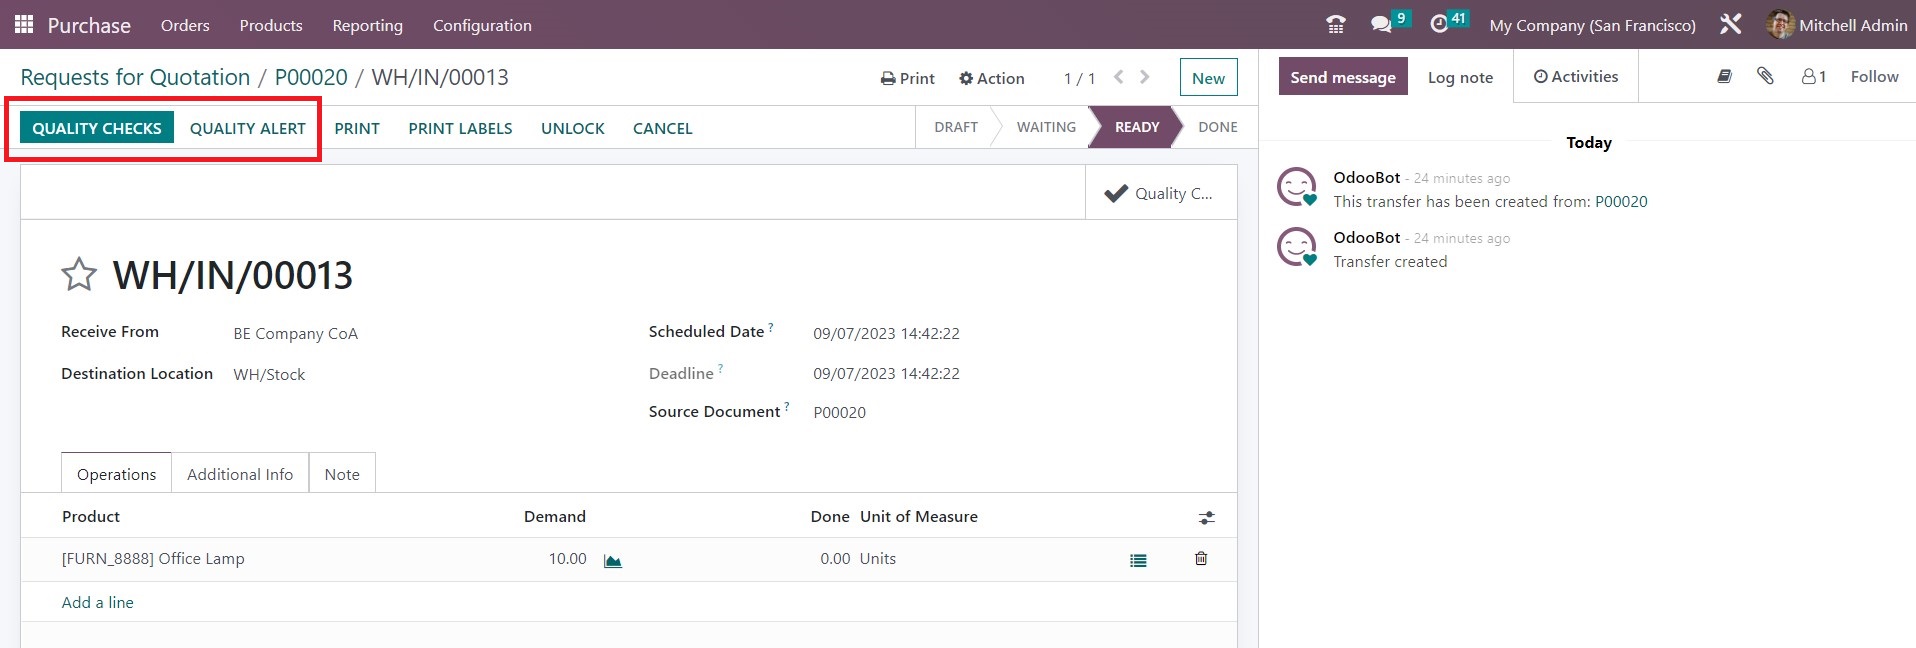
In the quality alert, you can fill in the product details, as well as add a description and corrective and preventive actions.
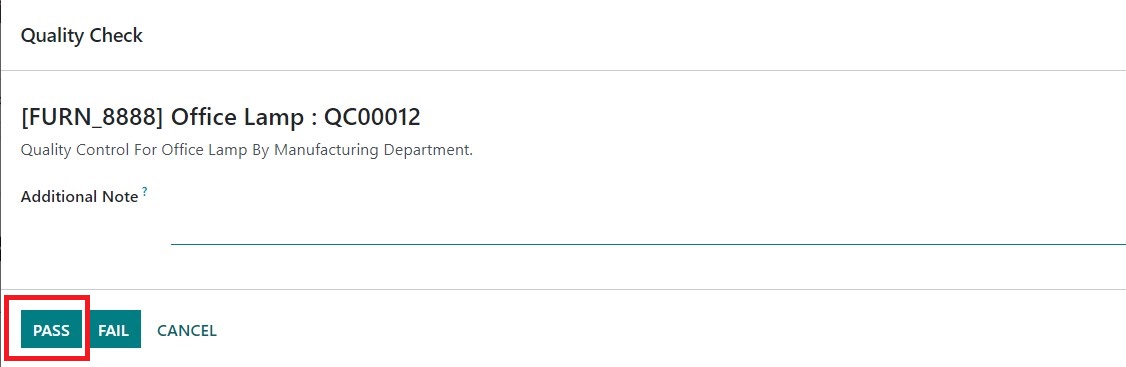
if you click on ‘Quality Checks’ you should specify if the products passed or failed the checks. Let’s assume these products passed them and click on ‘Pass’.
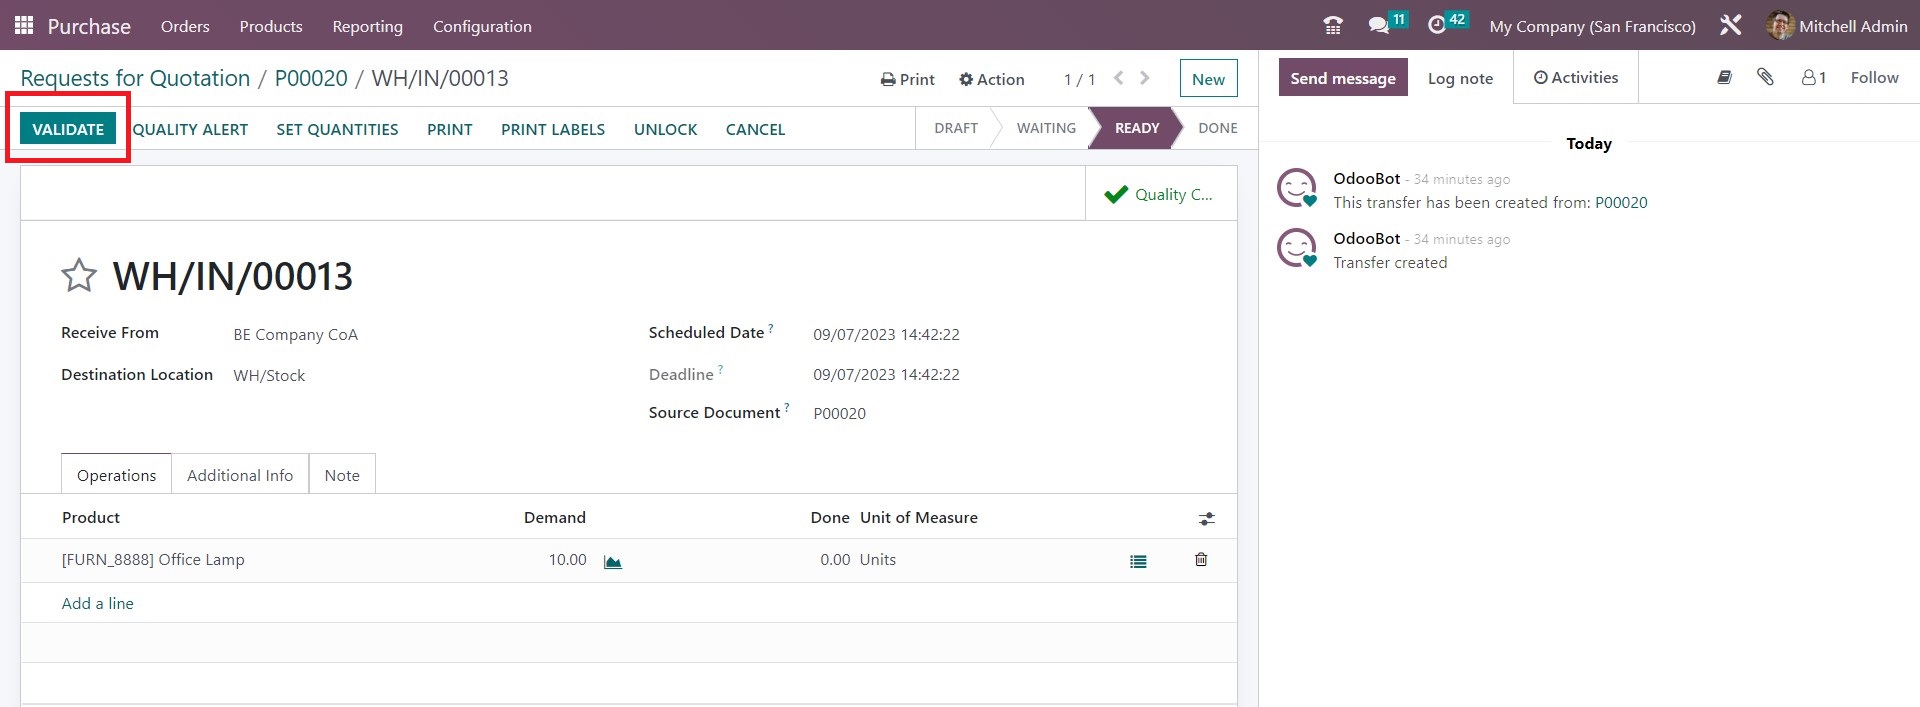
Step 8: Validate the Purchase Order and Create a Bill
When the products are received and checked, you can validate the purchase order.
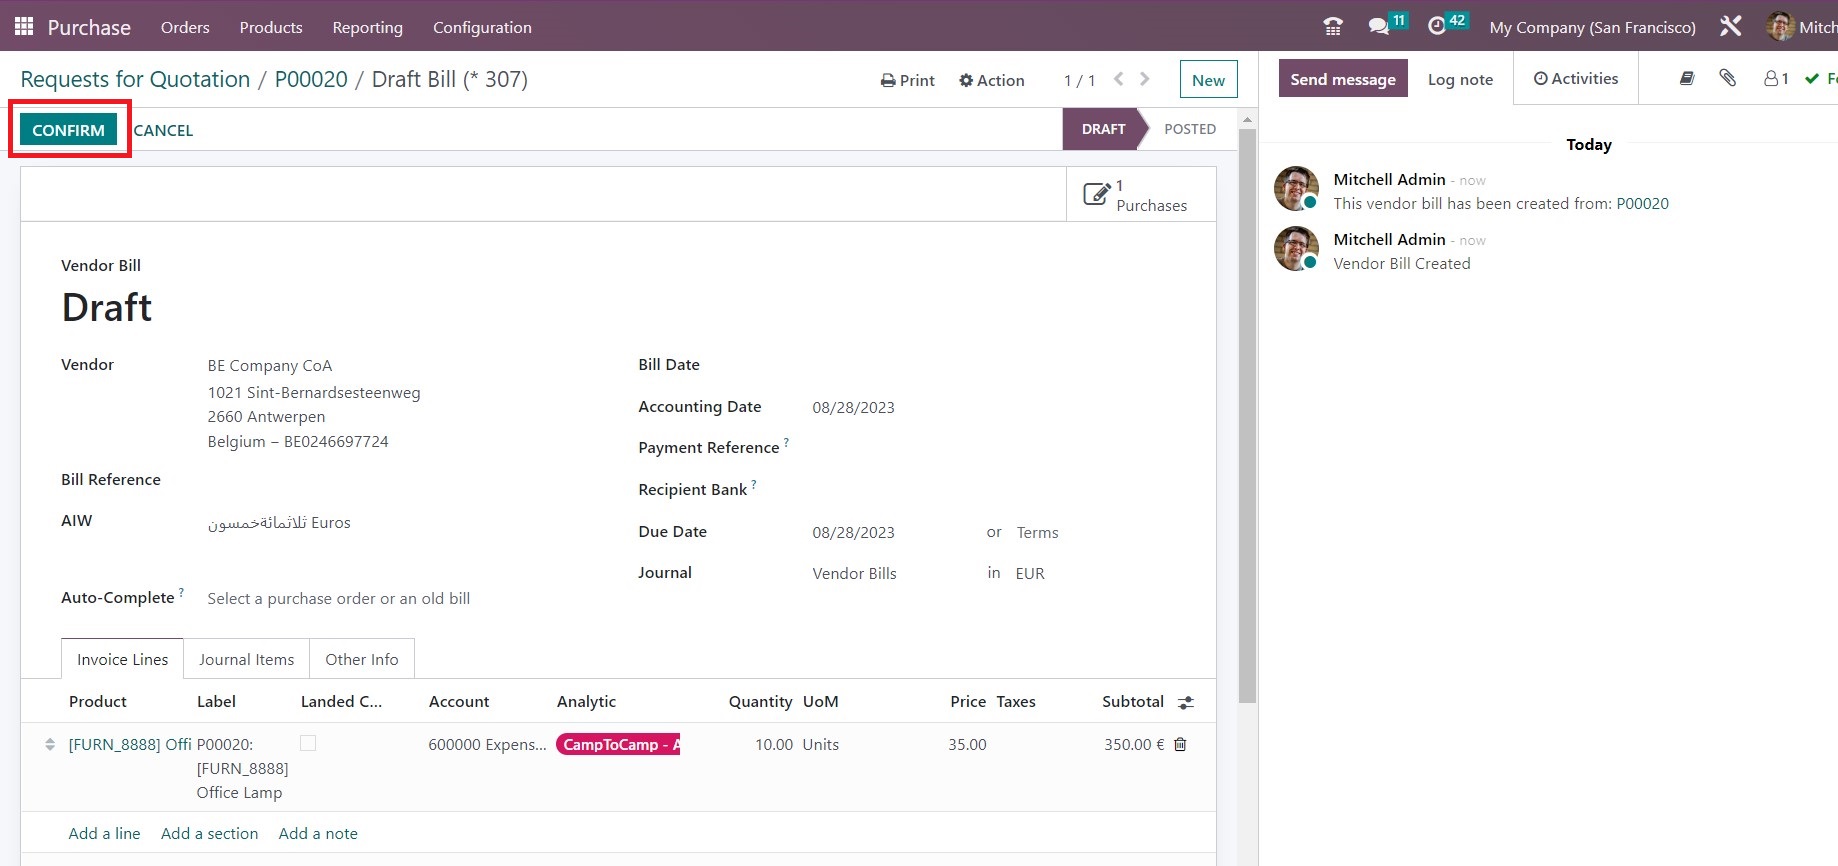
After that, Odoo will suggest you create a bill.
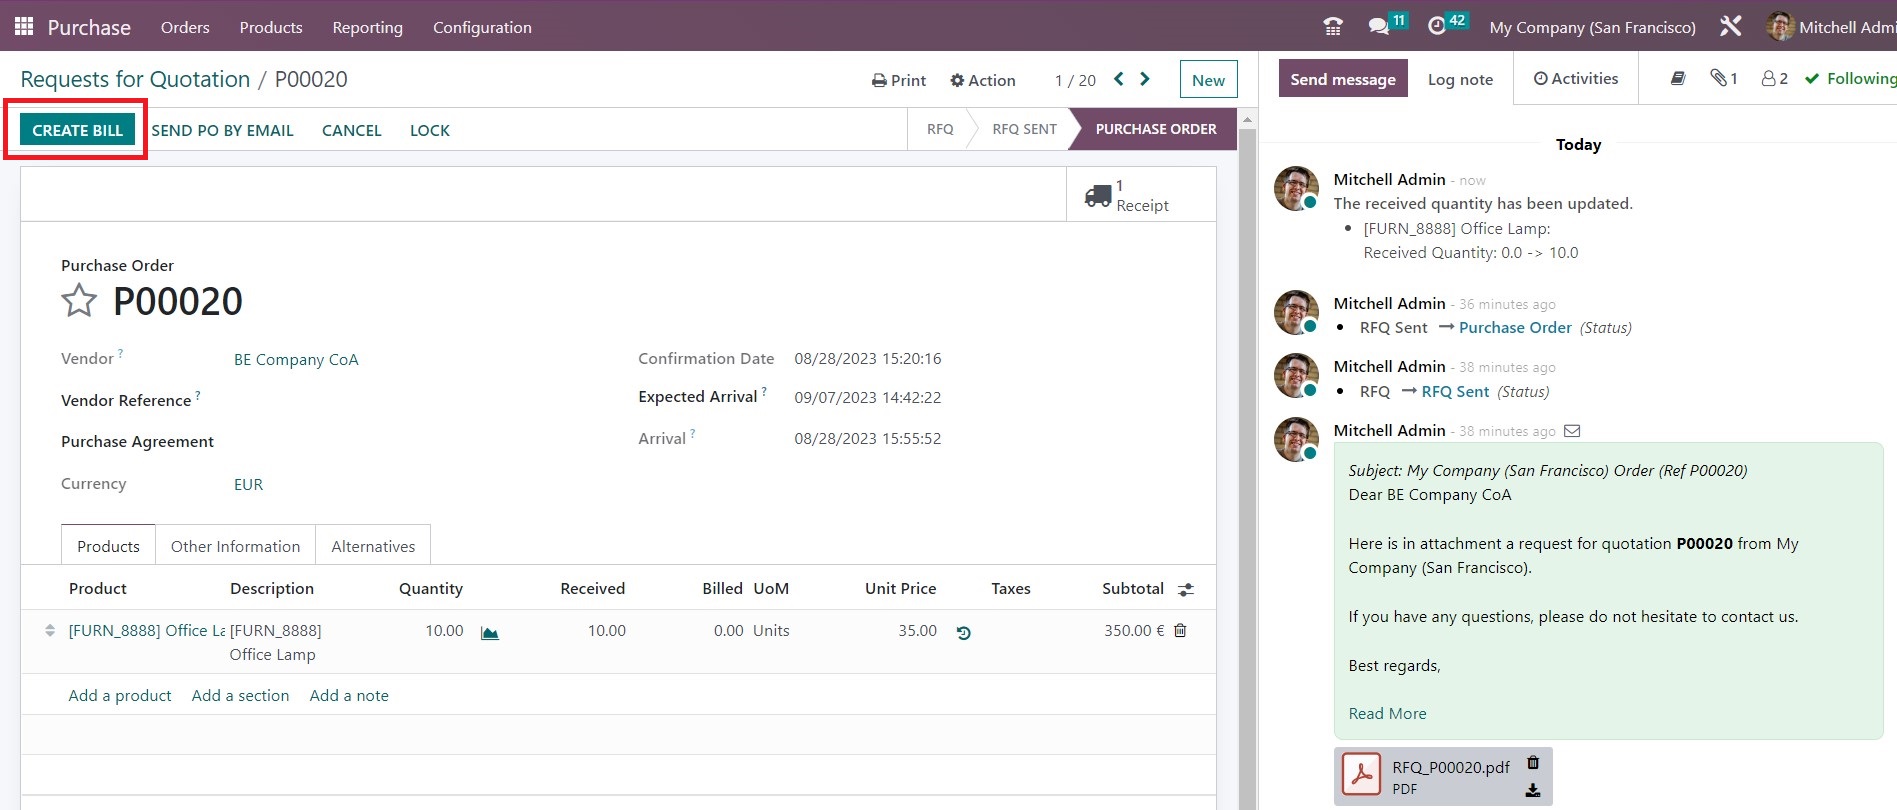
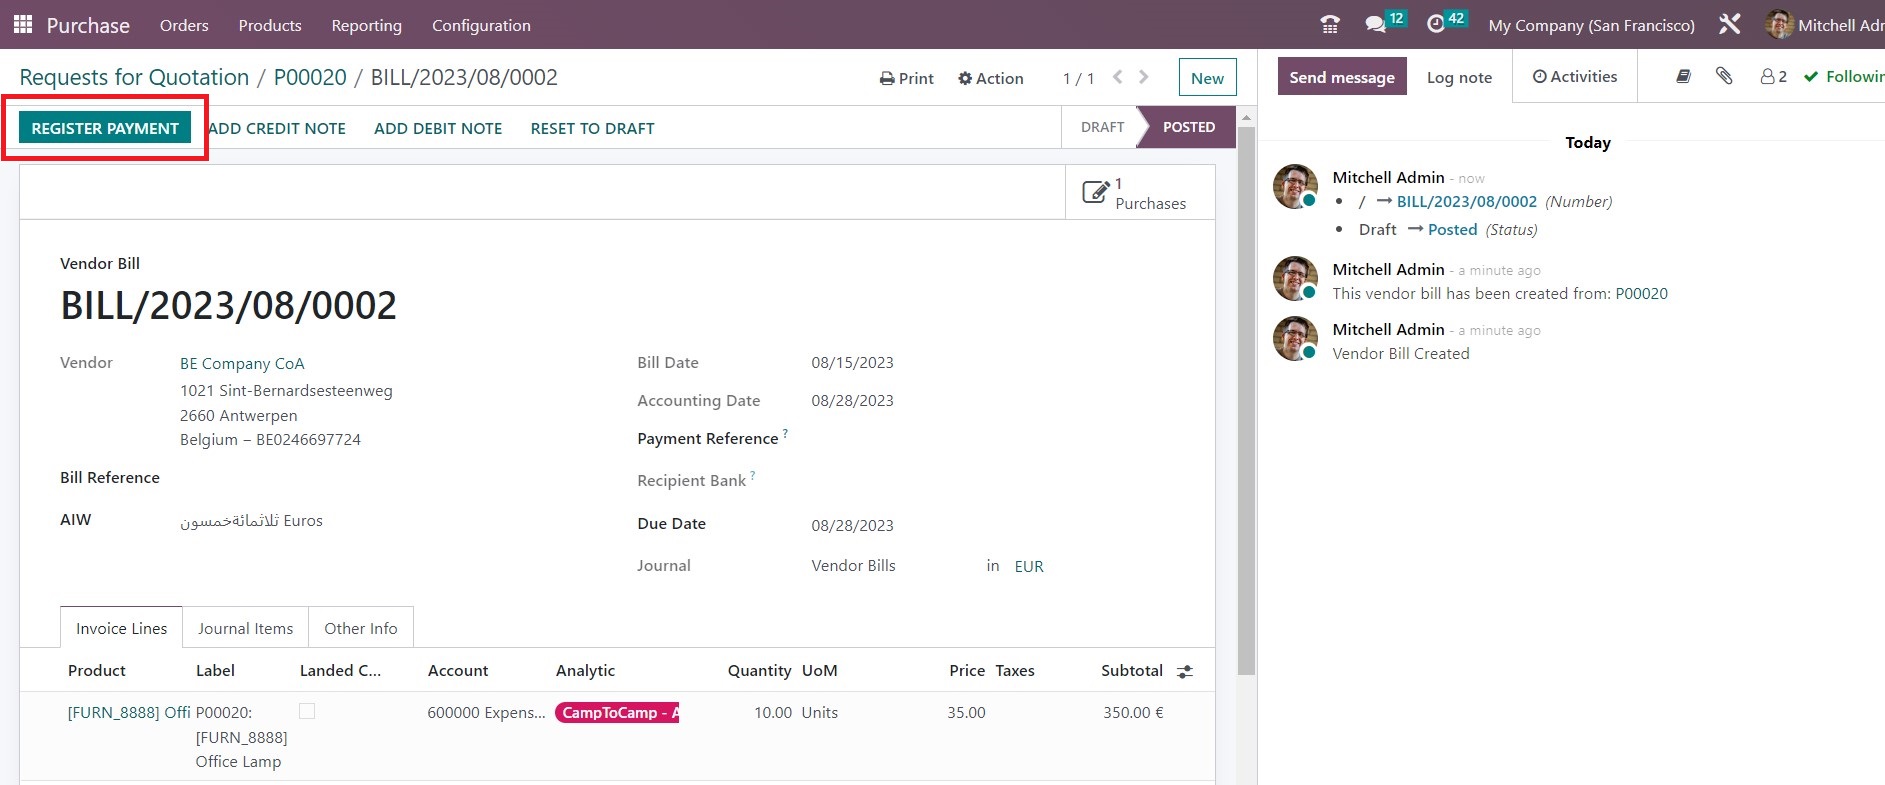
The bill will be automatically generated. Check the details and click on ‘Confirm’.
When the payment is made, register it in Odoo.
A new window will pop up with payment details. Review and click on ‘Create Payment’.
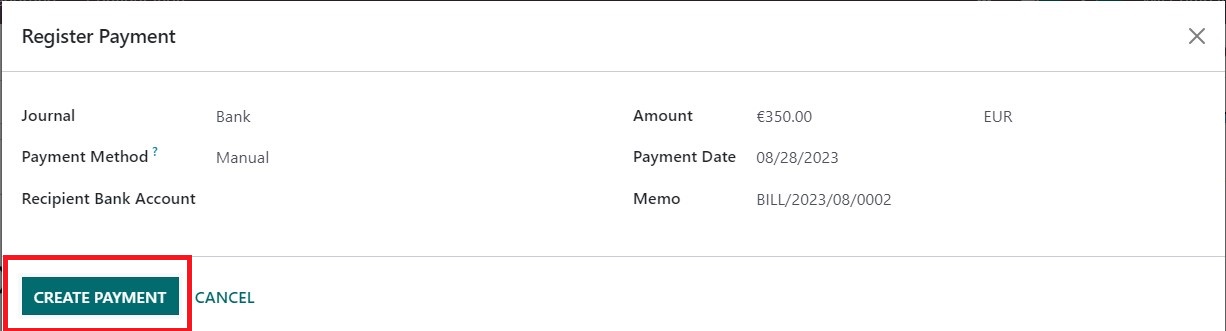
The status will be automatically updated to In Payment.

Conclusion
Odoo 16 Purchase's Request for Quotation feature is not merely a tool but a strategic ally in your procurement process. It brings about increased efficiency, enhanced decision-making, and improved vendor communication. Remember, the key to a successful procurement process lies in clear communication and thorough comparison. With Odoo 16 Purchase Module, you can streamline your RFQ process and ensure you're getting the best value for your business. But don't just take our word for it. Try it for yourself!